The LPG bottle we use has an empty weight of around 1kg and filled weight of around 25kg. So lifting the cylinder isn't really that good for aging backs. I usually lay it on a thick rag and drag the cylinder when I have to move it. Gets the job done with much less strain but it isn't the most efficient nor elegant method. I recently saw a round dolly at a home depot and instantly decided to make one myself. It was one of those "why didn't I think of that?!" moment. Ah well.
Design #1: Square Frame
With a good number of second hand 1/16" x 1-1/4" square tubing (but actually 1-3/16") laying around I chose this as the material of choice for the dolly. I cut four pieces of 9-5/8" lengths with 45-degree miter cuts using a 14" chop saw. The bottom of the gas bottle has a nominal outer diameter of 12" and inner diameter of 10". The diagonal of a square is equal to L√2, where L is the length, so with each side 9-5/8" the diagonal comes out to around 13-5/8" which is long enough to accommodate the 12" diameter of the cylinder.
2-1/2" lengths of angle irons were cut and welded to the inner corners of the square. These prevent the bottle from slipping off or from being knocked off the dolly. One side (the top side) of each angle iron piece is miter cut at 45 degrees. This diagonal eases mounting of the bottle on the dolly since if the cylinder lands on that incline it can slide down (or push the dolly off a bit) so the bottom of the bottle lands on the corners of the platform.
1" diameter casters were tack welded to the dolly. Their mounting plates were simply too thin and had too little surface area to weld continuously so they're held by a good number of tacks. Had a problem with one of the casters--it won't swivel freely anymore. A dingleberry must've landed in the ball bearings while I was MIG welding the caster to the frame. Lesson learned--shield moving parts and protect sensitive components from spatter.
Photos shown it already built and painted with red oxide primer.
Brought the dolly to my sis when I visited her and since she liked it and found it useful I left it with her. Can't find any photos of it after painting it black. Must've forgotten to shoot one.
Design #2: X-Frame
Since I need a dolly for myself I had to build another one. But I found the aesthetics of the above design more than wanting. Looking at it puts a pout on my face. Surely there are far better looking designs I told myself, although I had to work within constraints--my greenhorn abilities, ease/difficulty of fabrication,. limited equipment (no tube bender, press brake, band saw, etc.), and materials available in the garage.
Still using 1-1/4" square tubing, I cut one 14" and two 6-3/8" pieces. MIG welded the two latter to the center of former to form an X. Using a 4" angle grinder I ground the butt joints flush with the surface while leaving the fillets as they are. Used the same-sized casters as with the first dolly but with nylon wheels. Black plastic end caps close the holes on all four ends.
Because of my experience with the first dolly--having a dingleberry or two land and weld themselves in the bearings in one of the caster's swivel mechanism--I used masking tape and some scrap paper to encapsulate each of the casters to prevent any spatter from getting into where they shouldn't. The paper did catch fire a couple of times and I put it out simply by patting it with my leather-gloved hands. After tack welding the casters onto the frame I removed all the (partially burned) tape and paper and wrapped the casters again right before painting. One coat of red oxide primer and two coats of yellow quick dry enamel.
Future Make
Except for the general X shape, am still not satisfied with this second build. I was working within material constraints. I'd rather use 1/8" x 2" flat bars as the platform and then weld on 1/8 x 1" flat bars as vertical supports, thus forming a T section. And I find the 1" casters too small for ease of rolling and too flimsy for the heavy load. 1-1/2 to 2" diameter wheels would be far better. And instead of casters with mounting plates that have 4 holes for screws, I'd use something like
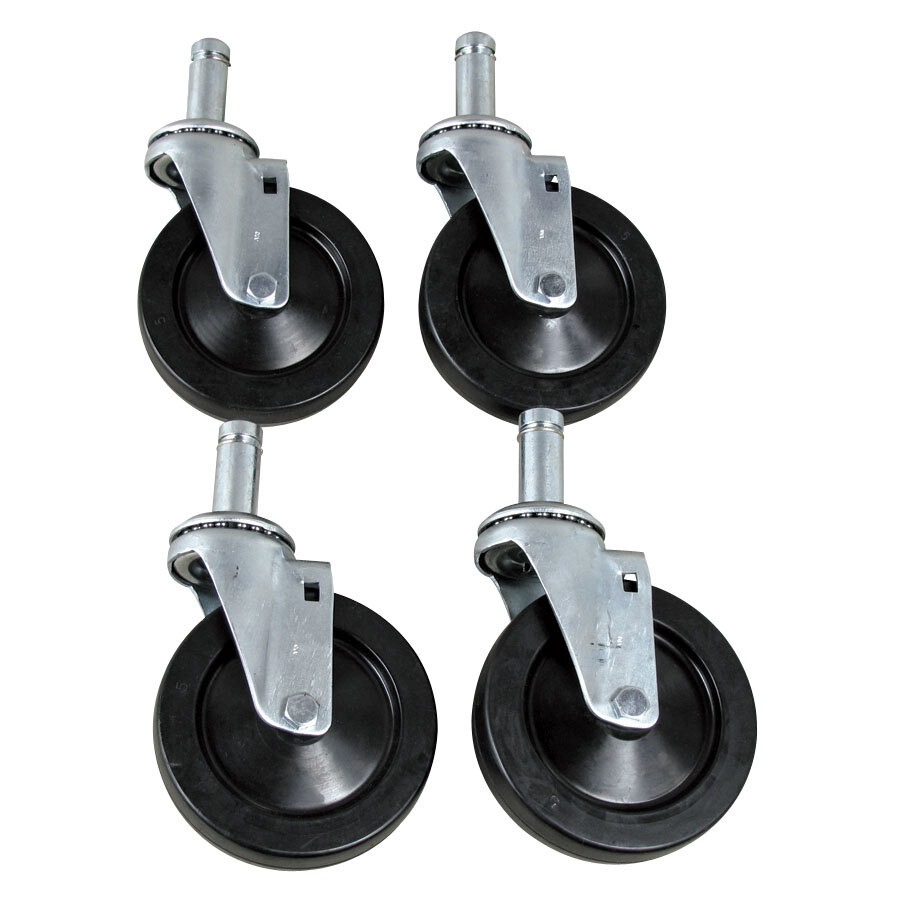
these and have those vertical pins go under the LPG bottle to secure it in place on the dolly. And if it isn't yet obvious, the tack welds on the casters are absolutely godawful! They're hideous. I'd rather not resort to welding them unless they've got much beefier steel plates.


